
The Brewer's Guide to Canning Kombucha: Carbonation and Safety
Kombucha is a living drink. For home brewers and commercial brands alike, packaging "the booch" presents a unique challenge: managing the secondary fermentation (F2) and carbonation. While glass bottles are traditional, PET Cans are becoming the preferred choice for safety and convenience.
The Challenge of "Bottle Bombs": In glass bottles, if the yeast continues to eat sugar, CO2 pressure builds up. If it gets too high, glass can explode—a dangerous mess.
🛡️ The PET Advantage
PET plastic is flexible. If your kombucha over-carbonates, the bottom of the can will bulge out. It won't shatter. This is a crucial safety feature for raw, unpasteurized kombucha.
🍵 Step 1: Primary Fermentation (F1)
Brew your sweet tea and let the SCOBY do its work as usual until you reach your desired pH and taste profile.
🍎 Step 2: Flavoring and F2 Preparation
Strain your F1 kombucha into a large vessel. Add your fruit juices, ginger, or herbs.
Sugar Check: Remember, the yeast needs a little sugar to create carbonation in the can, but too much will create a geyser. Ensure your sugar calculation is precise.

💧 Step 3: Filling the Cans
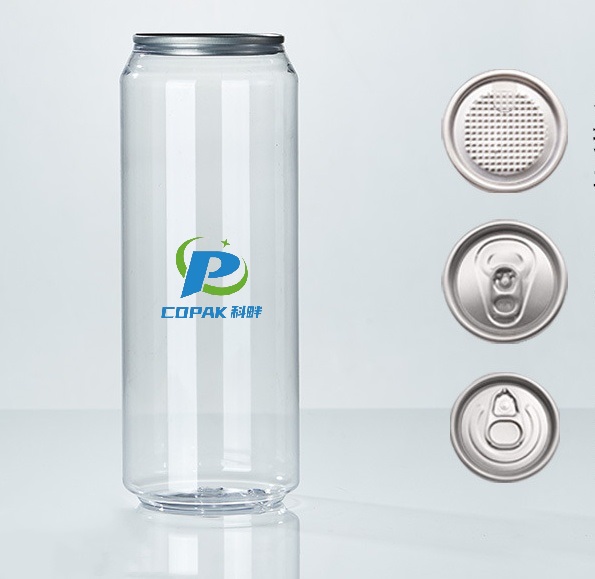
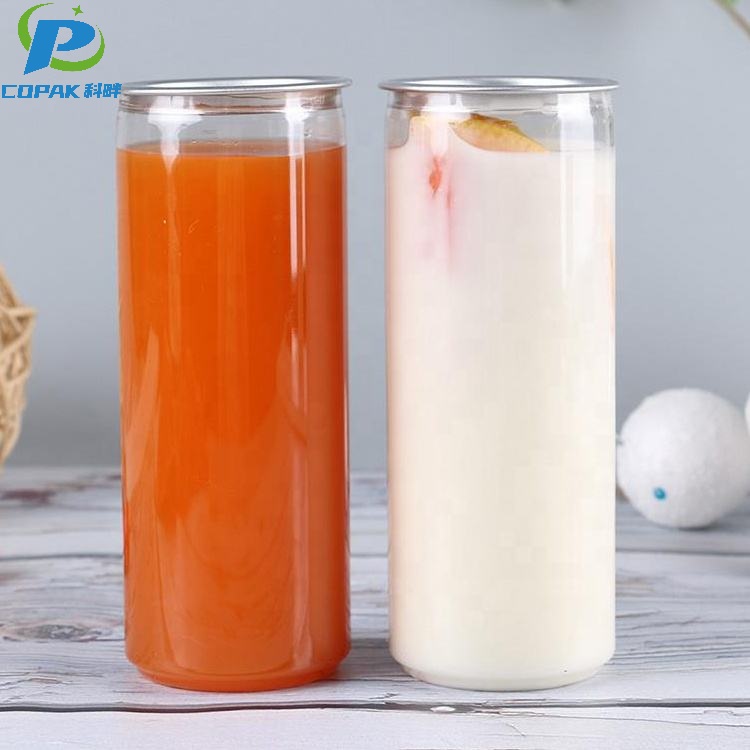
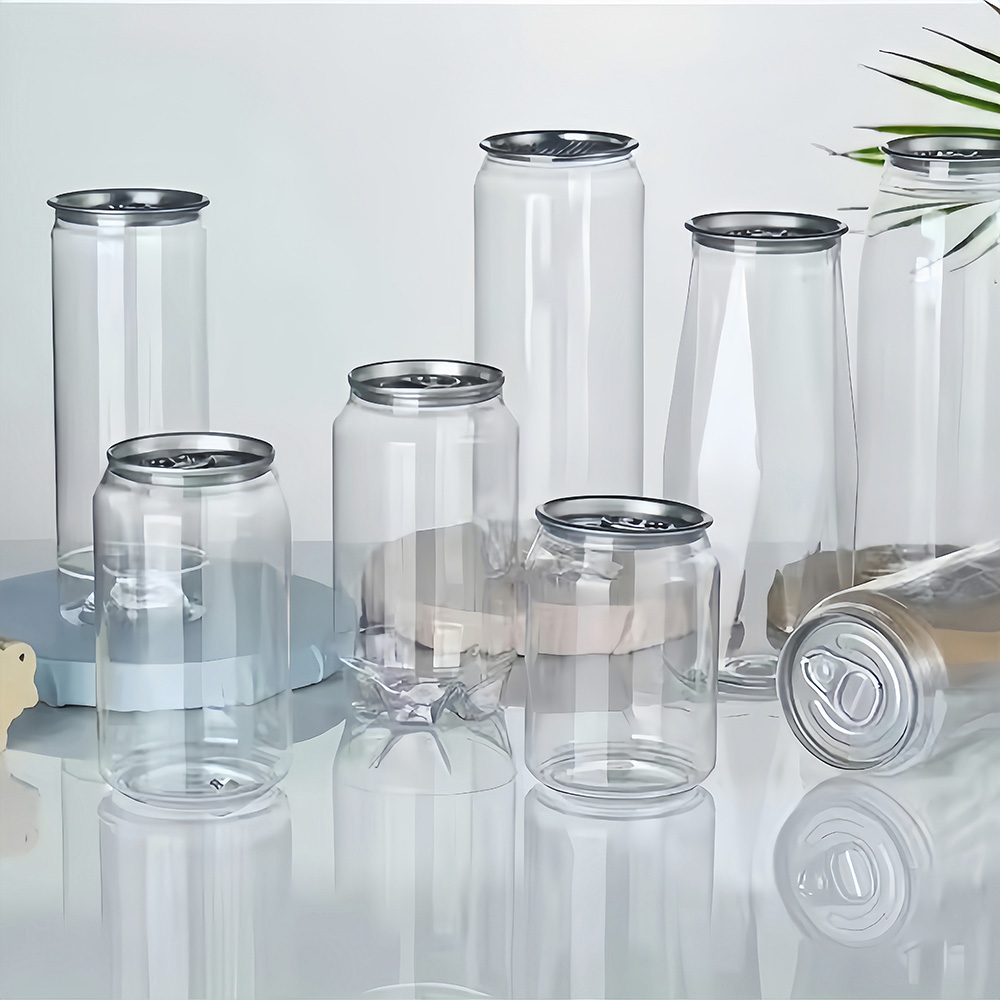
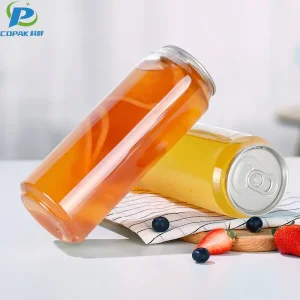
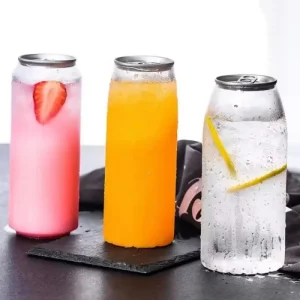
Pour your flavored kombucha into the Clear PET Cans.
Headspace: Leave appropriate headspace. The gas needs room to compress.
Temperature: Unlike cold brew, you might fill kombucha at room temperature if you intend to let it ferment in the can (conditioning).
🔒 Step 4: Sealing and Conditioning
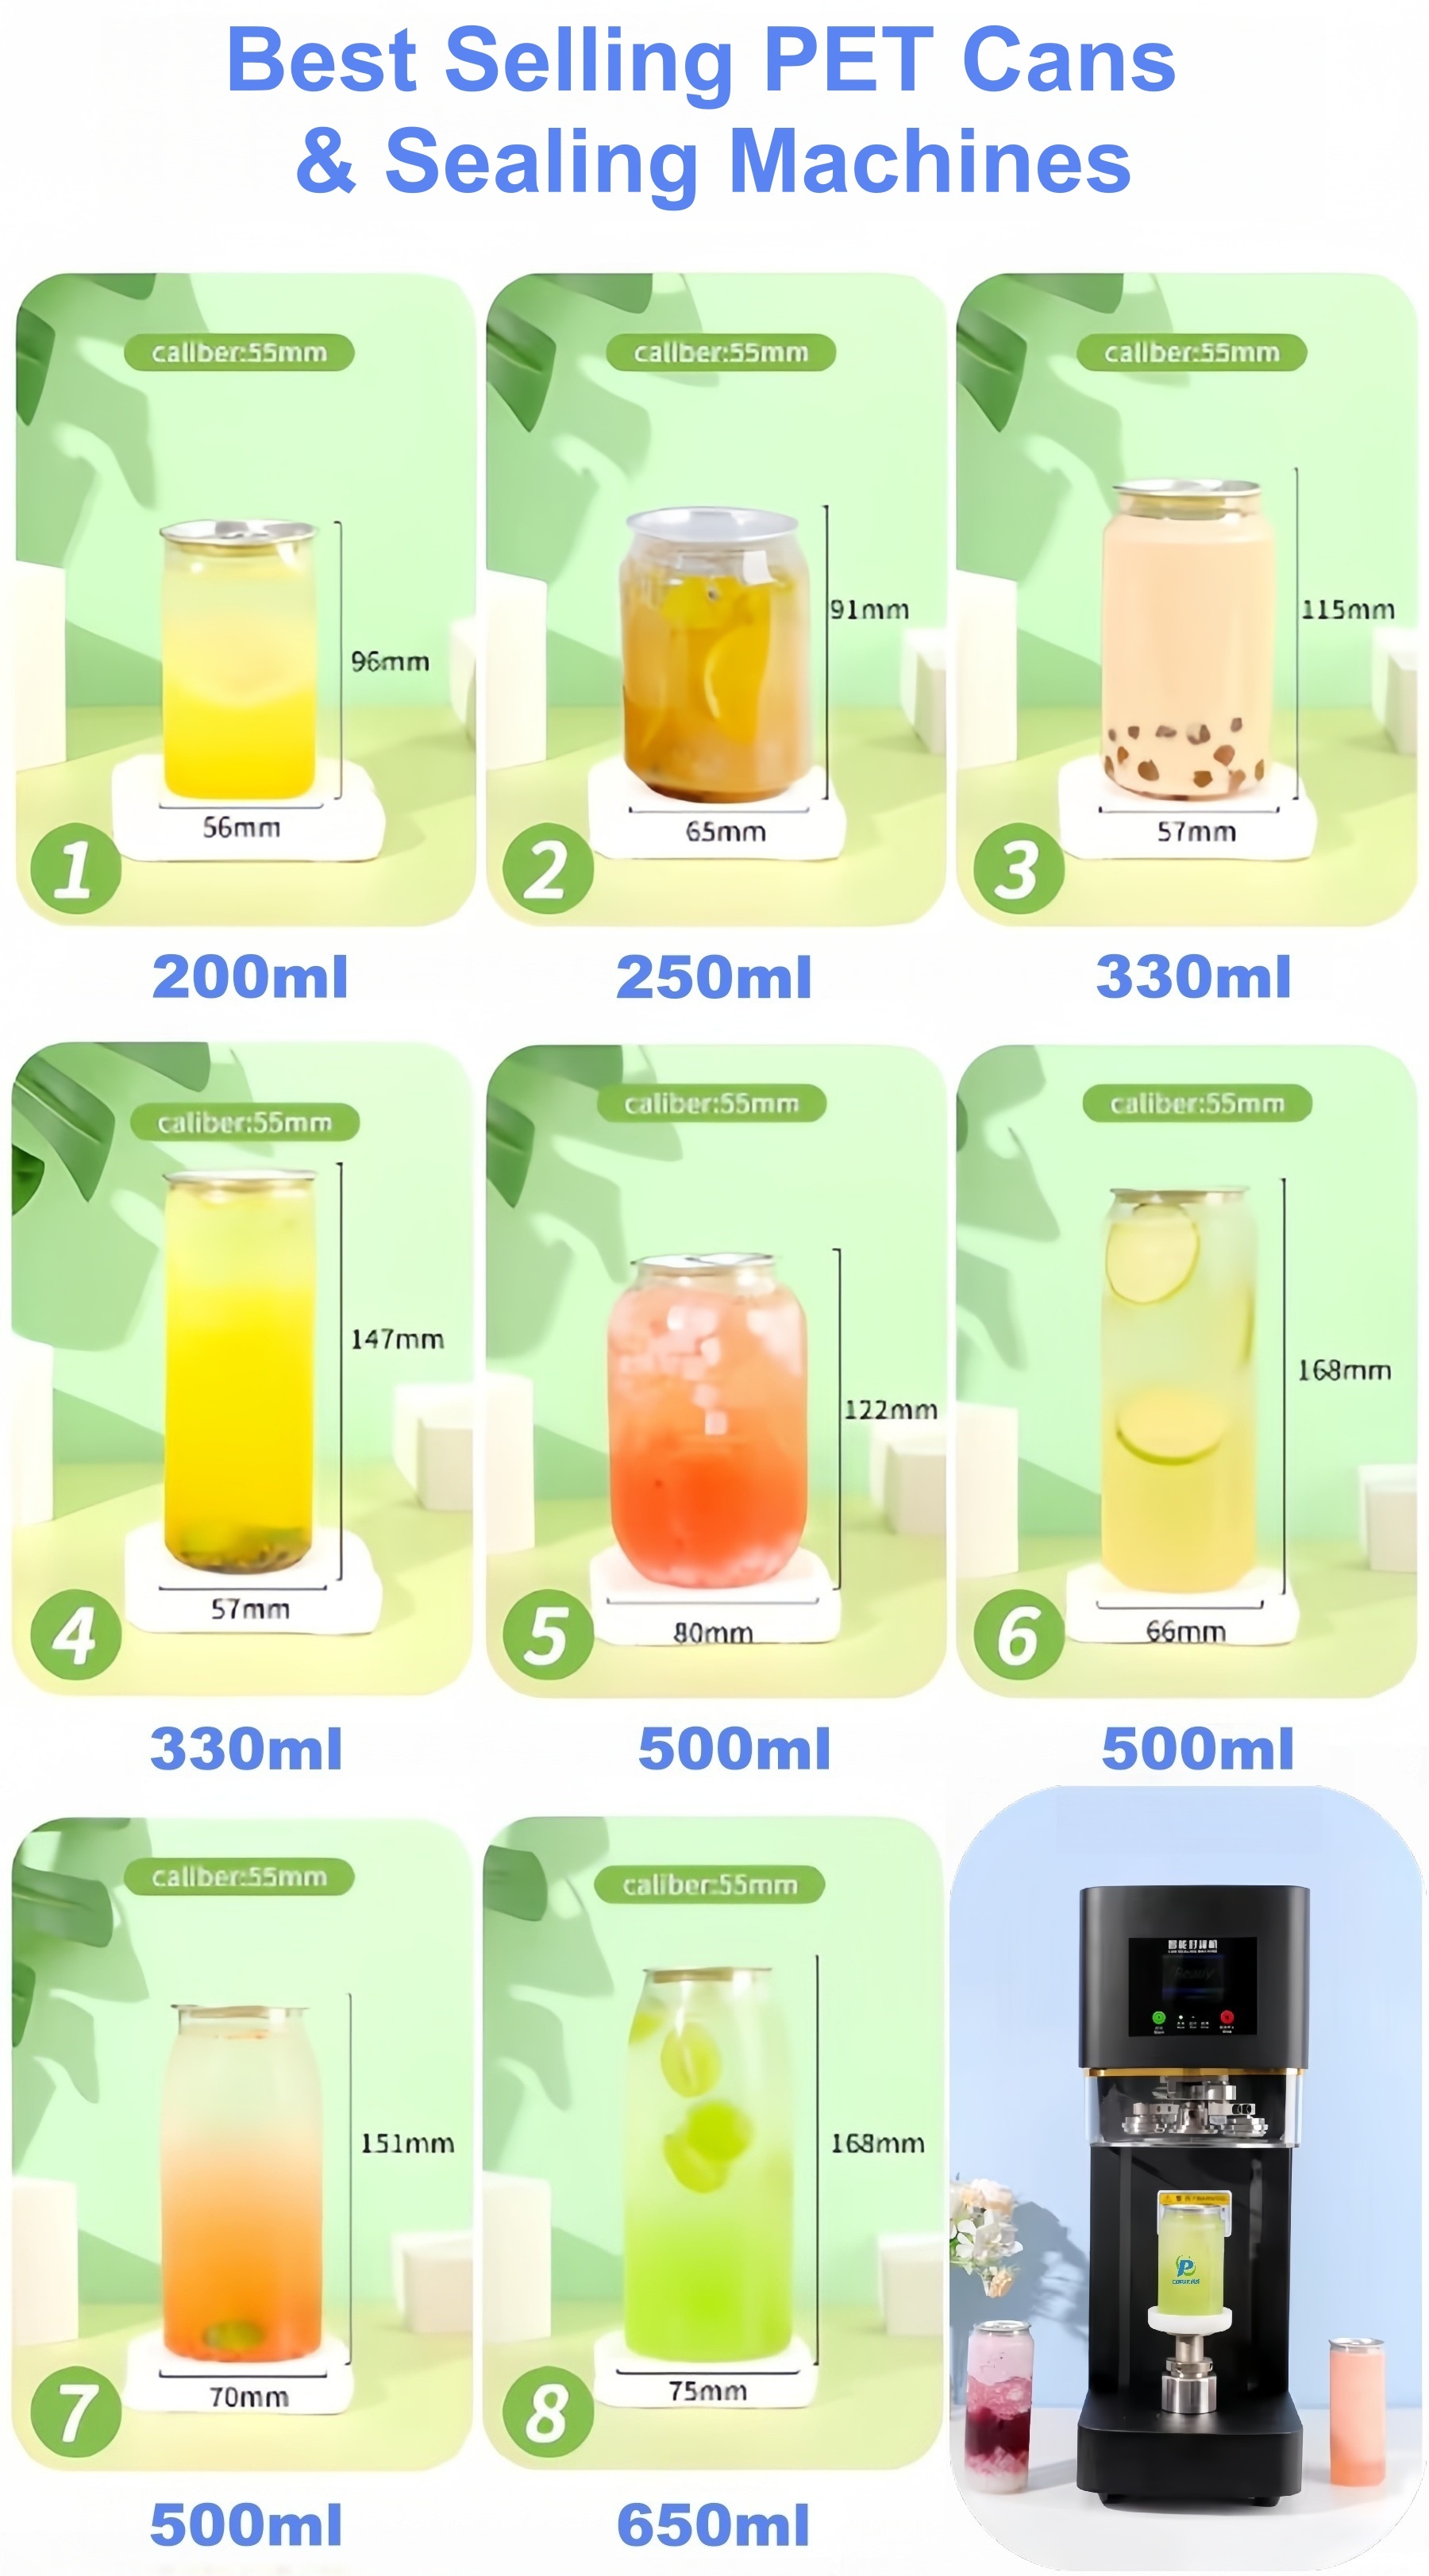
Seal the cans using your seaming machine.
Conditioning Phase: Leave the sealed cans at room temperature for 1-3 days (depending on your recipe) to allow carbonation to build up naturally inside the sealed environment.
The "Squeeze Test": This is the best part about plastic. You can literally squeeze the can. When it feels rock hard, you know carbonation is ready.

❄️ Step 5: Refrigeration
Once the cans are hard, move them immediately to the fridge. Cold temperatures put the yeast to sleep, stopping the fermentation process so the cans don't over-carbonate.
💡 Step 6: Education
Because the can is clear, customers can see the natural sediment or "baby SCOBY" strands. Use your label to educate them that this is normal and a sign of a healthy, living probiotic drink!
Frequently Asked Questions
1. Why are PET cans safer than glass bottles for Kombucha?
PET plastic is flexible, meaning it will bulge if pressure becomes too high rather than shattering like glass. This prevents dangerous "bottle bombs" during secondary fermentation.
2. How can I tell if my Kombucha is carbonated enough in a PET can?
You can perform the "Squeeze Test." Since PET is flexible, you can press the sides of the can; when it feels rock hard and has no give, the carbonation is ready.
3. Do I need to refrigerate the cans immediately after sealing?
No, you should leave them at room temperature for 1-3 days for the conditioning phase to build carbonation. Once the desired carbonation level is reached, then move them to the fridge to stop the process.
4. Why is headspace important when filling the cans?
Leaving headspace provides room for the CO2 gas to compress. Without enough space, the pressure could build too quickly or cause the liquid to spray out when opened.
5. Is the sediment at the bottom of the clear PET can safe?
Yes, sediment or small SCOBY strands are a sign of a healthy, living probiotic drink. The clear PET allows customers to see the authentic, natural quality of your kombucha.
6. Can I use a regular seaming machine for PET cans?
Yes, PET cans are designed to be sealed using standard canning seaming machines, making them compatible with most existing commercial setups.